
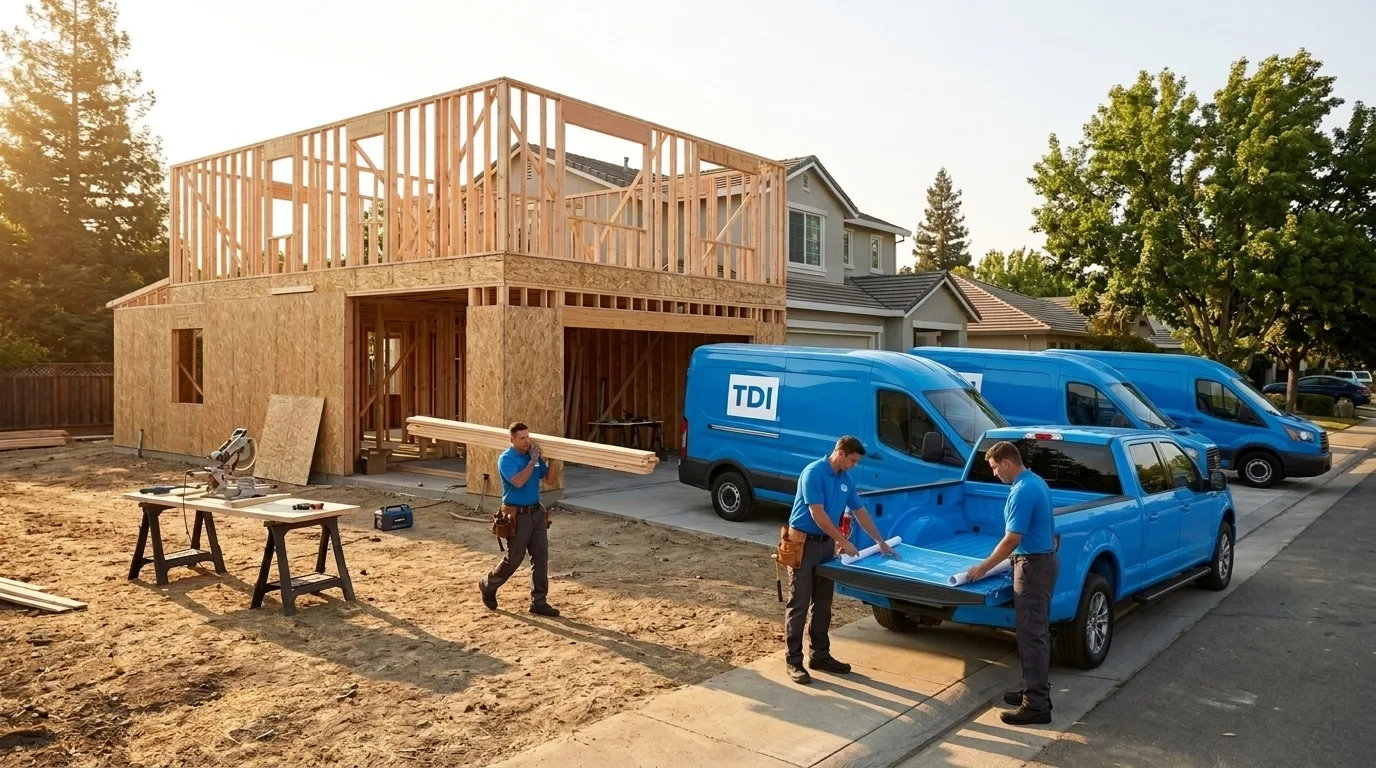
Planning a home remodel starts with one decision: scope before budget, not the other way around. Before you price a single cabinet or tile sample, you need a clear picture of what you’re changing, why you’re changing it, and in what order. Skipping that sequence is the most common reason remodels stall, balloon in cost, or produce results that disappoint. This guide walks you through every stage, from the first sketch on a notepad to the final walkthrough, so you can move forward with confidence rather than guesswork.
Step 1: Define the Scope Before You Set a Budget
Most homeowners start with a number in their head, “we want to spend around $40,000”, and then try to build a project around it. That approach almost always leads to either a gutted scope or a blown budget, because you can’t price what you haven’t defined.
Start instead by writing down what you actually want to change and why. Be specific. “Update the kitchen” is not a scope. “Remove the peninsula, replace the cabinets and countertops, relocate the sink to the island, and add recessed lighting” is a scope. The more granular you are at this stage, the more accurate every estimate you receive will be.
Once the scope is written, separate it into three columns:
- Must-have, changes that address a functional problem (a failing HVAC system, outdated electrical, a layout that doesn’t work for your family)
- Want-to-have, improvements that would meaningfully improve daily life but aren’t urgent
- Nice-to-have, finishes and upgrades you’d love if the budget allows
This exercise does two things: it protects your priorities when costs come in higher than expected, and it gives a contractor a clear picture of what “done” looks like to you.
Step 2: Research Costs, Permits, and Timeline Realistically
Sacramento’s remodeling market has its own rhythm. Labor costs here tend to track with the broader Bay Area influence while remaining somewhat lower, but material costs, especially lumber, windows, and HVAC equipment, have been volatile in recent years. Get at least three itemized bids, not ballpark figures over the phone.
Permits are not optional, and in Sacramento they are not fast. The City of Sacramento Building Division issues permits for structural work, electrical upgrades, plumbing changes, and HVAC modifications. Depending on project complexity and current department volume, permit review can add several weeks to your start date. Factor that into your timeline before you tell your family the kitchen will be done by Thanksgiving.
A realistic timeline for a mid-size remodel, a full kitchen or primary bathroom, in Sacramento typically runs three to five months from signed contract to final inspection, assuming no hidden conditions behind the walls. Older homes in neighborhoods like Land Park, Curtis Park, or Oak Park often have surprises: galvanized supply lines, knob-and-tube wiring, or plaster over lath that changes the demolition scope. Build contingency time into your plan, not just contingency money.
As a rule of thumb that holds across most markets: add 15–20% to your budget as a contingency reserve. If you don’t use it, great. If you do, you won’t be forced to make decisions under financial pressure.
Step 3: Hire the Right General Contractor (and Vet Them Properly)
For any remodel that involves structural changes, permits, multiple trades, or work valued above California’s contractor threshold, you need a licensed general contractor, not a handyman, not a series of individual subcontractors you manage yourself unless you have construction experience.
When vetting contractors, ask for:
- Their California Contractors State License Board (CSLB) license number, verify it at cslb.ca.gov before the first meeting
- Proof of general liability insurance and workers’ compensation coverage
- A list of subcontractors they typically use and whether those subs are licensed
- References from projects of similar scope completed in the last two years
- A sample contract so you can review payment schedule structure before you’re under any pressure to sign
The payment schedule matters more than most homeowners realize. A legitimate contractor will typically ask for a deposit (California law caps this at 10% or $1,000, whichever is less for most residential projects), with subsequent draws tied to completed milestones, not to calendar dates. If a contractor asks for 50% upfront, that’s a red flag.
TDI USA, Inc. handles general contracting and home remodeling in the Sacramento area. If you’re at the stage of collecting bids, they’re reachable at (877) 688-0866.
Step 4: Finalize Plans, Pull Permits, and Prepare Your Home
Once you’ve signed a contract, the pre-construction phase begins, and it’s busier than most homeowners expect. Depending on scope, your contractor may work with a designer or architect to produce permit-ready drawings. These drawings go to the city; the city may request revisions. Meanwhile, you’ll be making finish selections: cabinets, tile, fixtures, flooring, hardware. The lead times on some of these items, especially custom cabinetry or specialty tile, can run eight to twelve weeks.
Get your selections locked in before demolition starts. The single most common cause of mid-project delays is a homeowner who hasn’t chosen their countertop material when the cabinet installation is already complete. Your contractor should give you a selections deadline; take it seriously.
Before the crew arrives:
- Clear the work zone completely, furniture, art, rugs, anything fragile
- Establish a protected path from the exterior entry to the work area to limit dust migration
- Identify where the crew will park, stage materials, and store a dumpster if demolition is involved
- Discuss dust containment with your contractor, zip walls and negative air pressure matter in occupied homes, especially if anyone in the household has respiratory sensitivities
Step 5: Manage the Active Construction Phase
The best thing you can do during active construction is stay out of the way while staying informed. Establish a single point of contact, usually the project manager or lead carpenter, and agree on a communication cadence. A brief end-of-day text or a weekly check-in call is usually enough. Dropping by unannounced multiple times a day slows the crew and creates confusion about who’s giving direction.
That said, you should absolutely be present for:
- Rough inspections, when the city inspector reviews framing, electrical rough-in, and plumbing before walls close. If something fails inspection, you want to understand why.
- Any change-order conversation, if the crew opens a wall and finds something unexpected (rotted framing, a drain line in the wrong place, asbestos-containing texture in older Sacramento homes), that conversation needs to happen with you present, not relayed through a game of telephone.
- The final walkthrough, before you release the final payment, walk every inch of the finished space with your contractor and a written punch list. Note anything that needs correction. A reputable contractor expects this and welcomes it.
When the Project Is Done: Documentation and Warranty
At project close, collect and file:
- The final permit with the city’s signed-off inspection card
- Warranty documents for all installed equipment (HVAC, water heater, appliances)
- Any manufacturer warranties on materials (roofing, windows, flooring)
- As-built notes if any structural or mechanical work was modified from the original drawings
Keep these with your home’s records. They matter for homeowner’s insurance, future sales disclosures, and any warranty claims down the road.
A well-planned remodel, scoped carefully, permitted properly, and executed by a licensed contractor, adds lasting value to your home and avoids the expensive rework that shortcuts create. If you’re in the Sacramento area and ready to move from planning to building, TDI USA, Inc. can walk you through the process. Call (877) 688-0866 to start the conversation.